Decorated Supplies Boxes
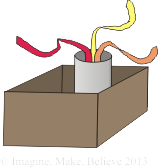
Every creative person needs one box. Well, that’s what we think over here at Imagine. Make. Believe!
Janelle loves boxes and containers especially little ones to store all sorts of treasures.
Annie likes boxes, because she likes to collect things, and is always needing a spot to store stuff. Unfortunately, she can’t always remember where or which box she has put her treasures in.
JJ also likes boxes. He uses cardboard cereal boxes to make all sorts of things, and will be putting a tutorial to make something fun from them on his own website soon.
Cris recently featured ten random facts about boxes on his website… have you ever wondered about who invented the cardboard box?
Elissa doesn’t seem to use boxes and containers as much as the rest of us, although she does use them for storing her toys!
Maybe you are a bit like one of us?
In our new Imagine. Make. Believe magazine coming in September, you will find lots of craft and sewing things to make, so we thought you might like to start collecting the tools and supplies you will need, now. We don’t use anything that costs lots of money or too hard to find, but we did think that your parent would like all your supplies in one box, and not in ten places around the house.
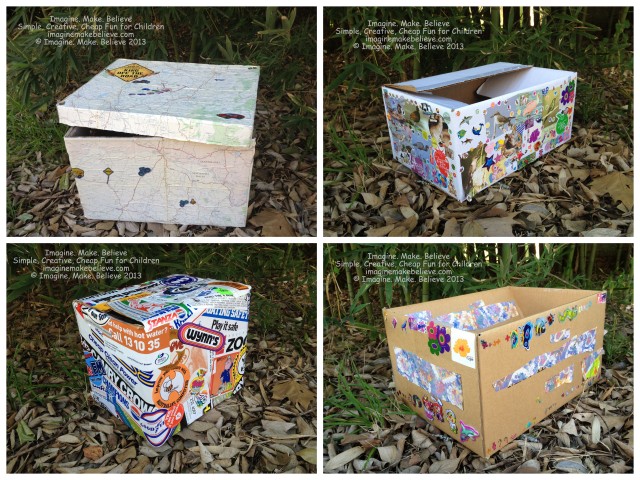
We also don’t think they want an ugly looking cardboard box lying around the house, so we have come up with some ideas to make them look great!

Box
You can use almost any type of box that doesn’t have large holes in – you don’t want to lose anything through the holes. We think it is best if it has a lid, or flaps that fold down, so here are some suggestions:
- Archive box
- Fruit box
- Box from the grocery shop or hardware store
- Plastic container, box or crate with lid
- An old cooler or esky
- Large shoe box
Covering
If you are using a cardboard box with writing on it, it is good to cover the whole box with something that looks nice, or you can just cover the words if there are not too many.
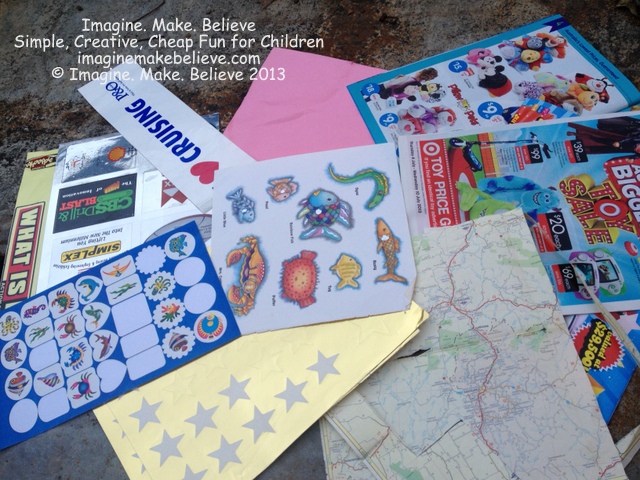
Covering Options
There are all sorts of things you can use including:
- Paint or painted pictures
- Maps
- Wrapping paper
- Magazine pages or junk mail
- Old calendars
- Brown paper
- Plain paper if you want to add your own decorations
- Self adhesive (sticky backed) book covering scraps
- Collaged paper, pictures or words – make a collage with coloured paper scraps, pictures from magazines, or words scattered all over
- Printed photo or picture – print out your favourite photo or picture and glue it on
- Drawings
- Stickers – if you want to cover your whole box with stickers, you will need lots
- Tissue paper – tissue paper is usually see through, so if you want to cover over words, you may need to glue down some other paper first
- Old sheets of music
We found the easiest way to cover a large box with large sheets of paper, was to:
- Place the side of the box down on the paper, and trace around it with pencil.
- Take the box off the paper.
- Cut along the line on the paper you just traced.
- Spread PVA or craft glue with a paint brush onto the side of the box that you just traced around.
- Carefully line up the cut sheet of paper over the glue, lining up the edges of the sheet and box.
- Gently press the middle of the sheet down with your hand and smooth it onto the box, by smoothing out from the centre.
- Continue tracing, cutting and gluing around each side of the box, and lid, and allow to dry.
Decoration
Once you have covered your box, or if you already have a nice one, then you can decorate it to complete your very own supplies box. It is a good idea not to have anything that can easily get knocked off the outside of your box, so smooth, flat things are best.
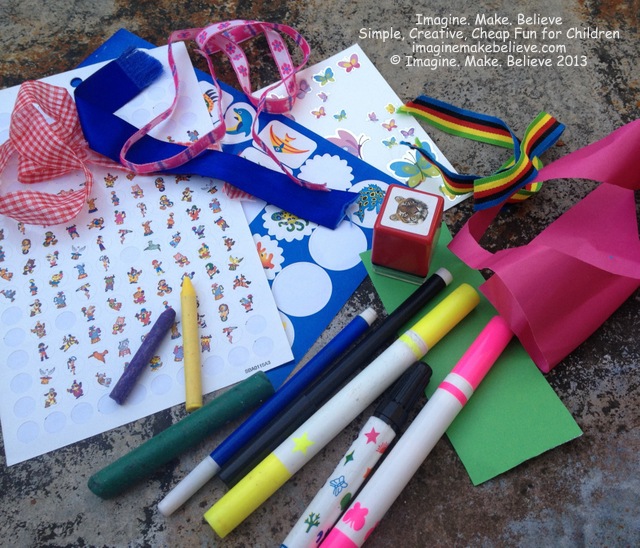
Decoration Options
Here are some suggestions of things you could use:
- Glitter Glue – draw pictures or write with glitter glue.
- Stickers
- Crayons, felt tip pens, watercolour or acrylic paint and pencils – you can make patterns, splashes of colour, drawings, or lots of colourful writing.
- Ribbon using double sided tape to glue it down, although you can use PVA or craft glue to glue it on a paper surface, although this can be very messy.
- Decorative tape – sticky tape sometimes comes in pretty designs, and you can use it a bit like ribbon with strips of it across your box. Washi tape is another type of tape that can be used the same way.
- Stencils can be used to make patterns or pictures.
- Stamps and inkpads are a quick and easy way to decorate a plain box, but if you don’t have either of those things, you can use paint and chopped potatoes (cut into a square or triangle shape), the end of a carrot or other sliced fruit or vegetables to make your own stamps. Wire, foam stickers and different size lids can all be used too. Later in the year we will have a Free Fun Friday about this!
Inside
Some of the children here at Imagine. Make. Believe wanted to have a few compartments inside their box to hold smaller items, so they don’t get lost in amongst other supplies. If you do this too, you will need to leave a large flat area inside your box for sheets of paper and other flat items.
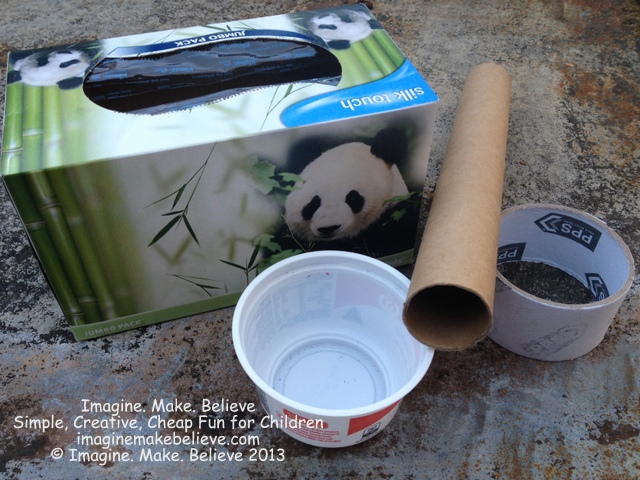
Compartment Options
Here are a few ideas that you could use to have some sections or compartments in your own box:
- Clean and washed food containers (yoghurt, cream cheese, margarine, powdered milk drink tins, etc)
- Cardboard tubes
- Small boxes
- Plastic containers
You can decorate them too, to match the outside of your box. They can be glued in the box, or glued onto a cardboard ‘shelf’, or if they have a lid, you might like to sit them on the top of your supplies.
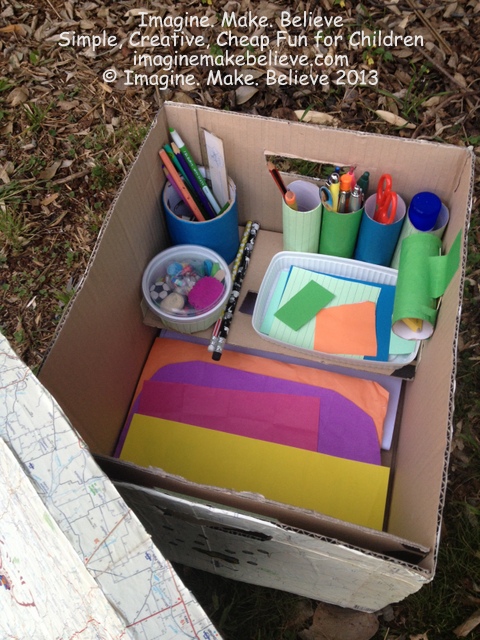
Supplies Box Inside with Compartments
So go find a box for your supplies and tools, (don’t forget to talk to your parent about it to make sure they are happy with the box you have chosen), and have fun decorating!
You may have seen some of these ideas before here at Imagine. Make. Believe. That’s because we use them to cover school books! See our Free Fun Friday – Book Covers post for more details.

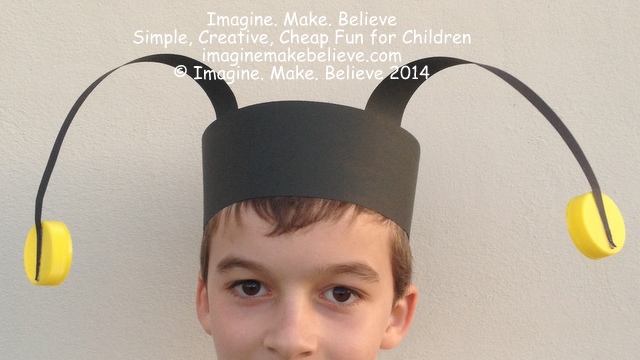
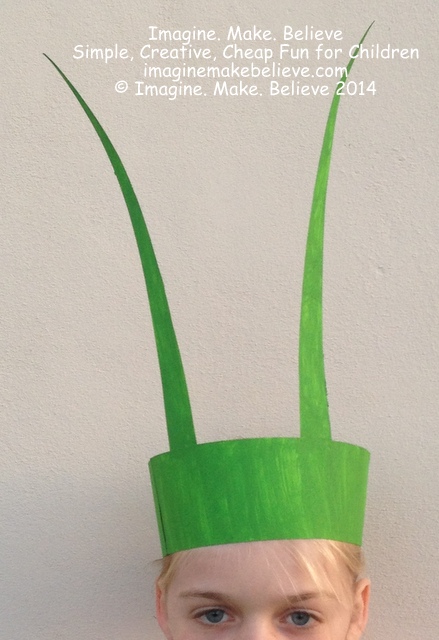


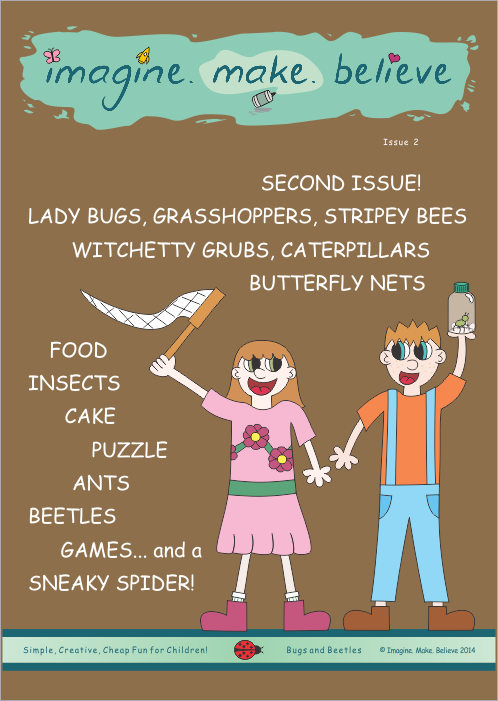 Excitement has been building behind the scenes for some time now, as the second issue of the Imagine. Make. Believe magazine has been coming together. We are pleased to announce, it can now be purchased from our

 This week’s Free Fun Friday is a tiny sneak peek into the first issue of our