How to Prevent Knots in Thread While Stitching

How to Prevent Knots in Thread While Stitching, sewing, kids, tips

How to Prevent Knots in Thread While Stitching, sewing, kids, tips

Ever wondered how to prevent knots in thread while stitching?  Sometimes when you stitch or sew, you may find that you end up with an unwanted knot in your thread. How did it get there?

Sometimes it is a mystery, but there are a couple of things you can do to prevent (stop) it from happening.  Here are our tips to help make your stitching or sewing easier:

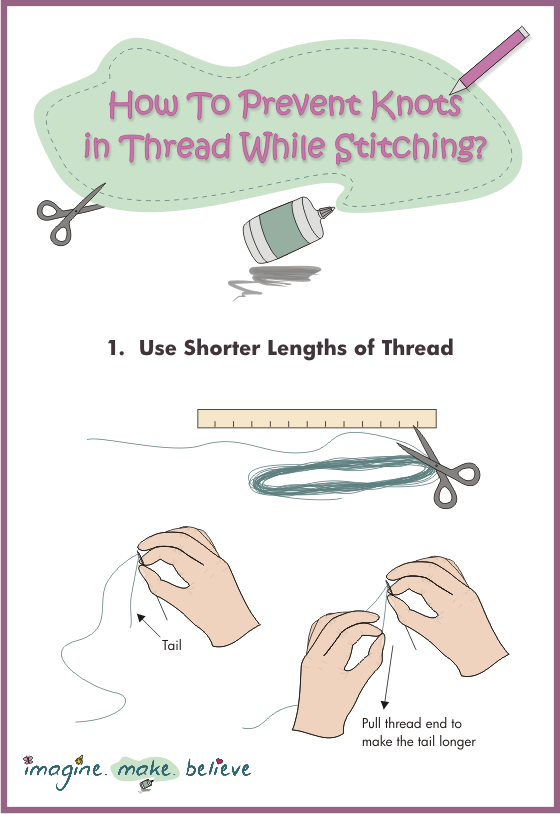
1.  Use Shorter Lengths of Thread

The longer the thread, the more likely it is to tangle and knot. We suggest that you cut the thread so that it is 50cm (20 inches) long or less, before you thread your needle.

Sometimes you may need to use longer threads than this, and if you do, make the tail that goes through the needle longer.  After you have done some stitching and start catching up to the tail, you can make the tail shorter.

How to Prevent Knots in Thread While Stitching, sewing, kids, tips


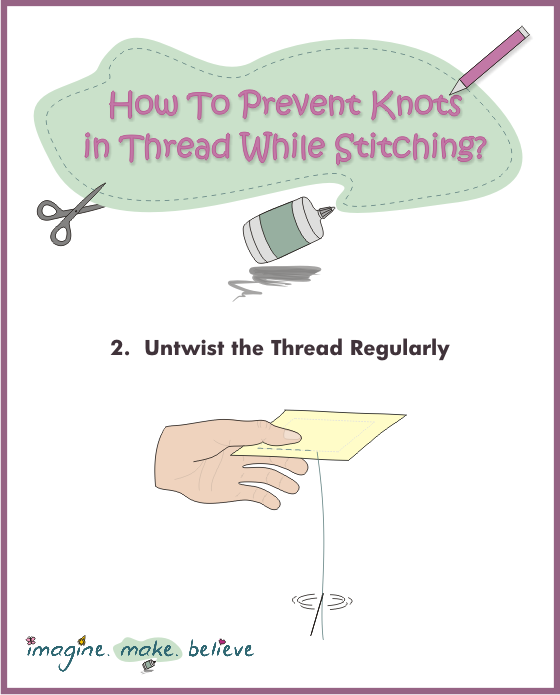
2.  Untwist the Thread Regularly

After you have stitched or sewn a number of stitches, the thread will usually start twisting, which is a common cause of knots. To untwist your thread, hold the fabric in the air and let the thread and needle hang from the fabric, then you will see it quickly untwisting.

Once it has stopped twisting, you can continue on stitching. It is a good idea to do this frequently (often) to prevent knots.

How to Prevent Knots in Thread While Stitching, sewing, kids, tips

We hope these tips help you have less knots and tangles in your thread.  Let us know how you go!

Free Fun Friday – Thread Bobbin Template

Thread bobbin template, spool, cardboard, embroidery thread, stranded cotton, floss, organise

Thread bobbin template, spool, cardboard, embroidery thread, stranded cotton, floss
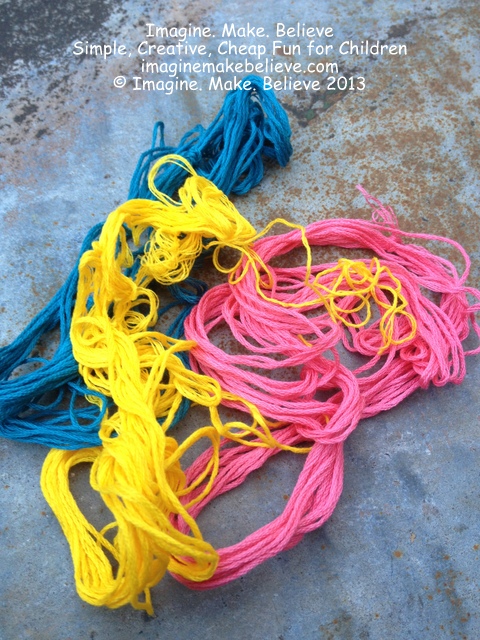
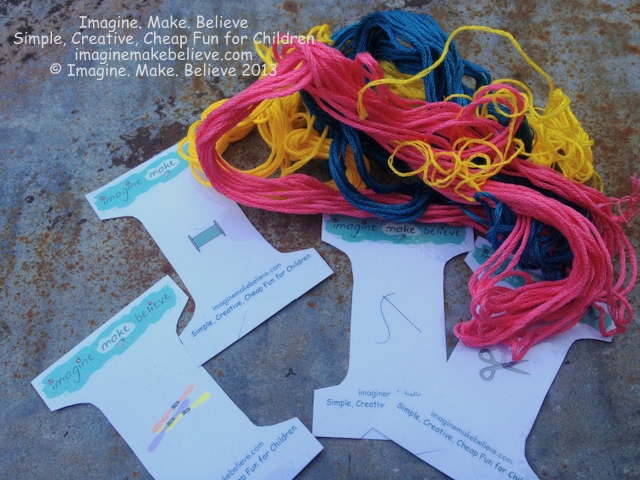
If you like to do stitching, or crafty things with thread or yarn, you will find that it is easy to get your yarn, thread, or threads, in a tangled mess.  Maybe your threads look a little like this?

Thread bobbin template, spool, cardboard, embroidery thread, stranded cotton, floss, organise

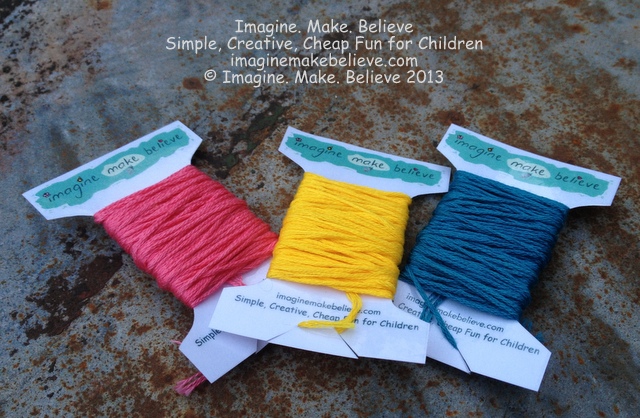
The good news is, that it is easily fixed!  All you have to do is wind each different coloured thread onto a bobbin or a spool.  We have made up some cute little bobbins to wind the threads on and keep things neat and tidy, so we thought we’d share our thread bobbin template with you too!

Thread bobbin template, spool, cardboard, embroidery thread, stranded cotton, floss, organise
Just click the button and it will take you to the file.

Thread bobbin template, spool, cardboard, embroidery thread, stranded cotton, floss

Then all you have to do is:

  • Print the thread bobbin template on a sheet of card (the thickest you can put in your printer – check your printer specifications), or paper and then glued on card or laminated.  It will fit perfectly on an A4 size sheet as is, so there is no need to have it ‘reduced to fit’.  We printed ours on paper and then laminated them, because they should last longer with a plastic covering.
  • Cut the bobbins out and cut the slits (already marked).
  • Put one end of the thread through one of the slits to hold the end.
  • Wind the thread onto the bobbin and spread the thread out as you go – don’t wind it all onto one section of the bobbin.
  • When you have finished winding all the thread onto the bobbin, take the loose end of the thread and pull it through one of the slits in the bobbin to hold it, so that the thread doesn’t unravel (come off the bobbin).
  • Now that you have one of your threads neatly on a bobbin, you can get another of your messy threads, and do the same with a new bobbin.

Thread bobbin template, spool, cardboard, embroidery thread, stranded cotton, floss, organise
When you have all your threads on bobbins, you can store them in a small container or a box.

JJ is working on a pattern for a box to store them all in, so look out for that on another Free Fun Friday!

How to Trace a Pattern

How to trace a pattern, stitching, embroidery, kids, window, lightbox

How to trace a pattern, stitching, embroidery, kids, window, lightbox

You may have found a great stitching pattern in our magazine, or elsewhere, and you would like to stitch it.

But how do you get the pattern or the design onto the fabric?

In this How To? we show you how to trace a pattern on lightly coloured fabric.  It’s really an easy thing to do once you know how!

Diagrams and instructions easy enough for children to follow can be found by clicking the button below.

How to trace a pattern, stitching, embroidery, kids, window, lightbox

Happy stitching!

How to Start a Thread

How to Start a Thread, sewing, basics, stitching, kids, tutorial

How to Start a Thread, sewing, basics, stitching, kids, tutorial

Have you ever picked up a needle and thread, ready to sew, only to find that you don’t quite now how to start off sewing or stitching with the thread?

The children at Imagine. Make. Believe have all been in that situation at least once, so we thought we’d share with you our free tutorial for two different ways that you can start a thread, one with a knot, and one with a tail.

We have full instructions and diagrams easy enough for children to follow, so we hope this will help you get started with your sewing!  Click on the button below for all the details.

How to Start a Thread, sewing, basics, stitching, kids, tutorial

Happy stitching!

How to Use Stranded Cotton

stranded cotton, embroidery thread, embroidery floss, stranded thread, how to use, instructions

stranded cotton, embroidery thread, embroidery floss, stranded thread, how to use, instructions

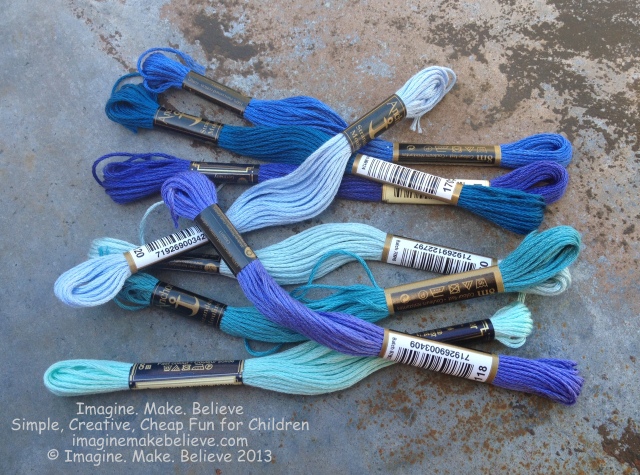
Ever wondered how to use stranded cotton, embroidery floss, stranded thread, embroidery thread, or whatever you like to call it?  Have you tried to pull out strands of thread and then created an awful mess, with knots and tangles that are dreadful to undo?  If you are anything like us, you probably have!  Or maybe this is your first time to use stranded cotton, and you are not quite sure what to do?

stranded cotton, embroidery thread, embroidery floss, stranded thread, how to use, instructions

Stranded Cotton

In this free tutorial, we show you how to simply and easily separate the strands of stranded cotton, without the time-wasting tangles. We have full instructions and diagrams easy enough for children to follow.  Just click the button below.

stranded cotton, embroidery thread, embroidery floss, stranded thread, how to use, instructions

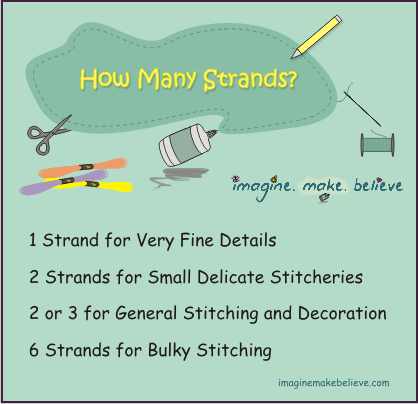
Not sure how many strands of thread to use?

If you are following a pattern, the instructions will usually tell you how many strands you will need.  If there are none, we have put together this handy guide to help you decide.

stranded cotton, embroidery thread, embroidery floss, stranded thread, how to use, how many strands, instructions

Just remember though, there are no ‘rules’, so if you prefer to use more or less, that’s up to you.

If you want to know how to thread a needle, have a look at our How To Thread a Needle post.

We hope this helps you with your stitching.  Let us know how you go by commenting below!

How to Tie a Knot in Thread

sewing, kids, children, imagine make believe, knot in thread, knot in end of thread

sewing, kids, children, imagine make believe, knot  in thread, knot in end of thread

Have you ever wondered how to easily tie a knot in thread?  Do you find it difficult to tie the knot in the end of the thread, rather than half way down? Maybe this is the first time you have ever tied a knot?

If so, we have a great tutorial on how to tie a knot, exactly where you would like it… on the end!

With full instructions and diagrams suitable for children to follow, we hope this sometimes tricky task, becomes an easy one.  Just click on the button below!

sewing, kids, children, imagine make believe, knot  in thread, knot in end of thread

Happy knotting!


Free Fun Friday – Apron

Imagine Make Believe, children, kids, sewing, quick easy apron

Imagine Make Believe, children, kids, sewing, quick easy apron

Do you like to cook, paint or do messy craft?  If so, you may find that you need an apron to protect your clothes.  One of the easiest, quickest aprons to make is from a tea towel or dishtowel.  Tea towels usually have a nice hem all the way round, which means there are no scruffy or fraying edges of fabric, so they are easy to convert into an apron, with two folds, some stitching, and cord attached.

We have full sewing instructions and diagrams on converting a tea towel or dishtowel into an apron, so click the button below and have fun making your very own apron.

Imagine Make Believe, children, kids, sewing, quick easy apron

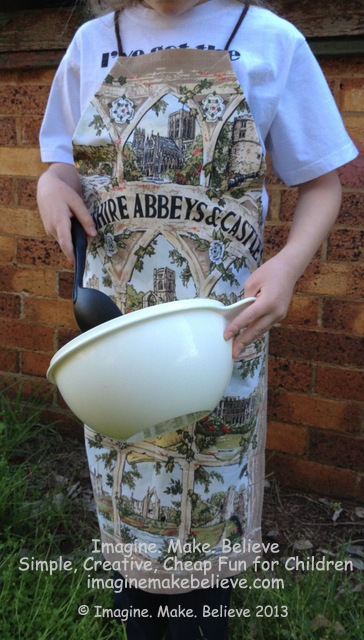
We would love to see your tea towel or dishtowel aprons, so once you have finished your apron, visit our Tea Towel Apron Gallery and upload your photo so we can all have a look!  Here’s one of our finished aprons!

Imagine Make Believe, children, kids, sewing, quick easy apron

If you enjoy cooking, crafting, or having fun, you can look forward to our themed fun recipes, crafts and games in our upcoming Imagine. Make. Believe magazine, which will be launched soon.

How to Thread a Needle

Imagine Make Believe Craft Children Kids Sewing

Imagine Make Believe, Craft, Children, Kids, Sewing

Been having trouble threading your needle?

Its a tricky thing, especially if your eye-sight is not so great, or if you find it difficult to keep your hands still.

Or maybe you have never threaded one before, and are trying to find the easiest or best way to thread a needle?

If so, you have come to the right place!

We have full instructions and diagrams which are easy enough for a child to follow, so click the How to Thread a Needle button below to find out how.  We also include some tips to help you before you get started.

Imagine Make Believe Craft Children Kids Sewing

Let us know how it goes!

Related Posts Plugin for WordPress, Blogger...